

The preview toolbar replaces the previous Visual edits experience. Instead of using a separate editing panel, choose a toolbar mode, point at what you want to change, and describe the update in plain language. To change colors, fonts, spacing, or other styles, select the element and describe the change.To learn what changed from Visual edits, see What happened to Visual edits?.
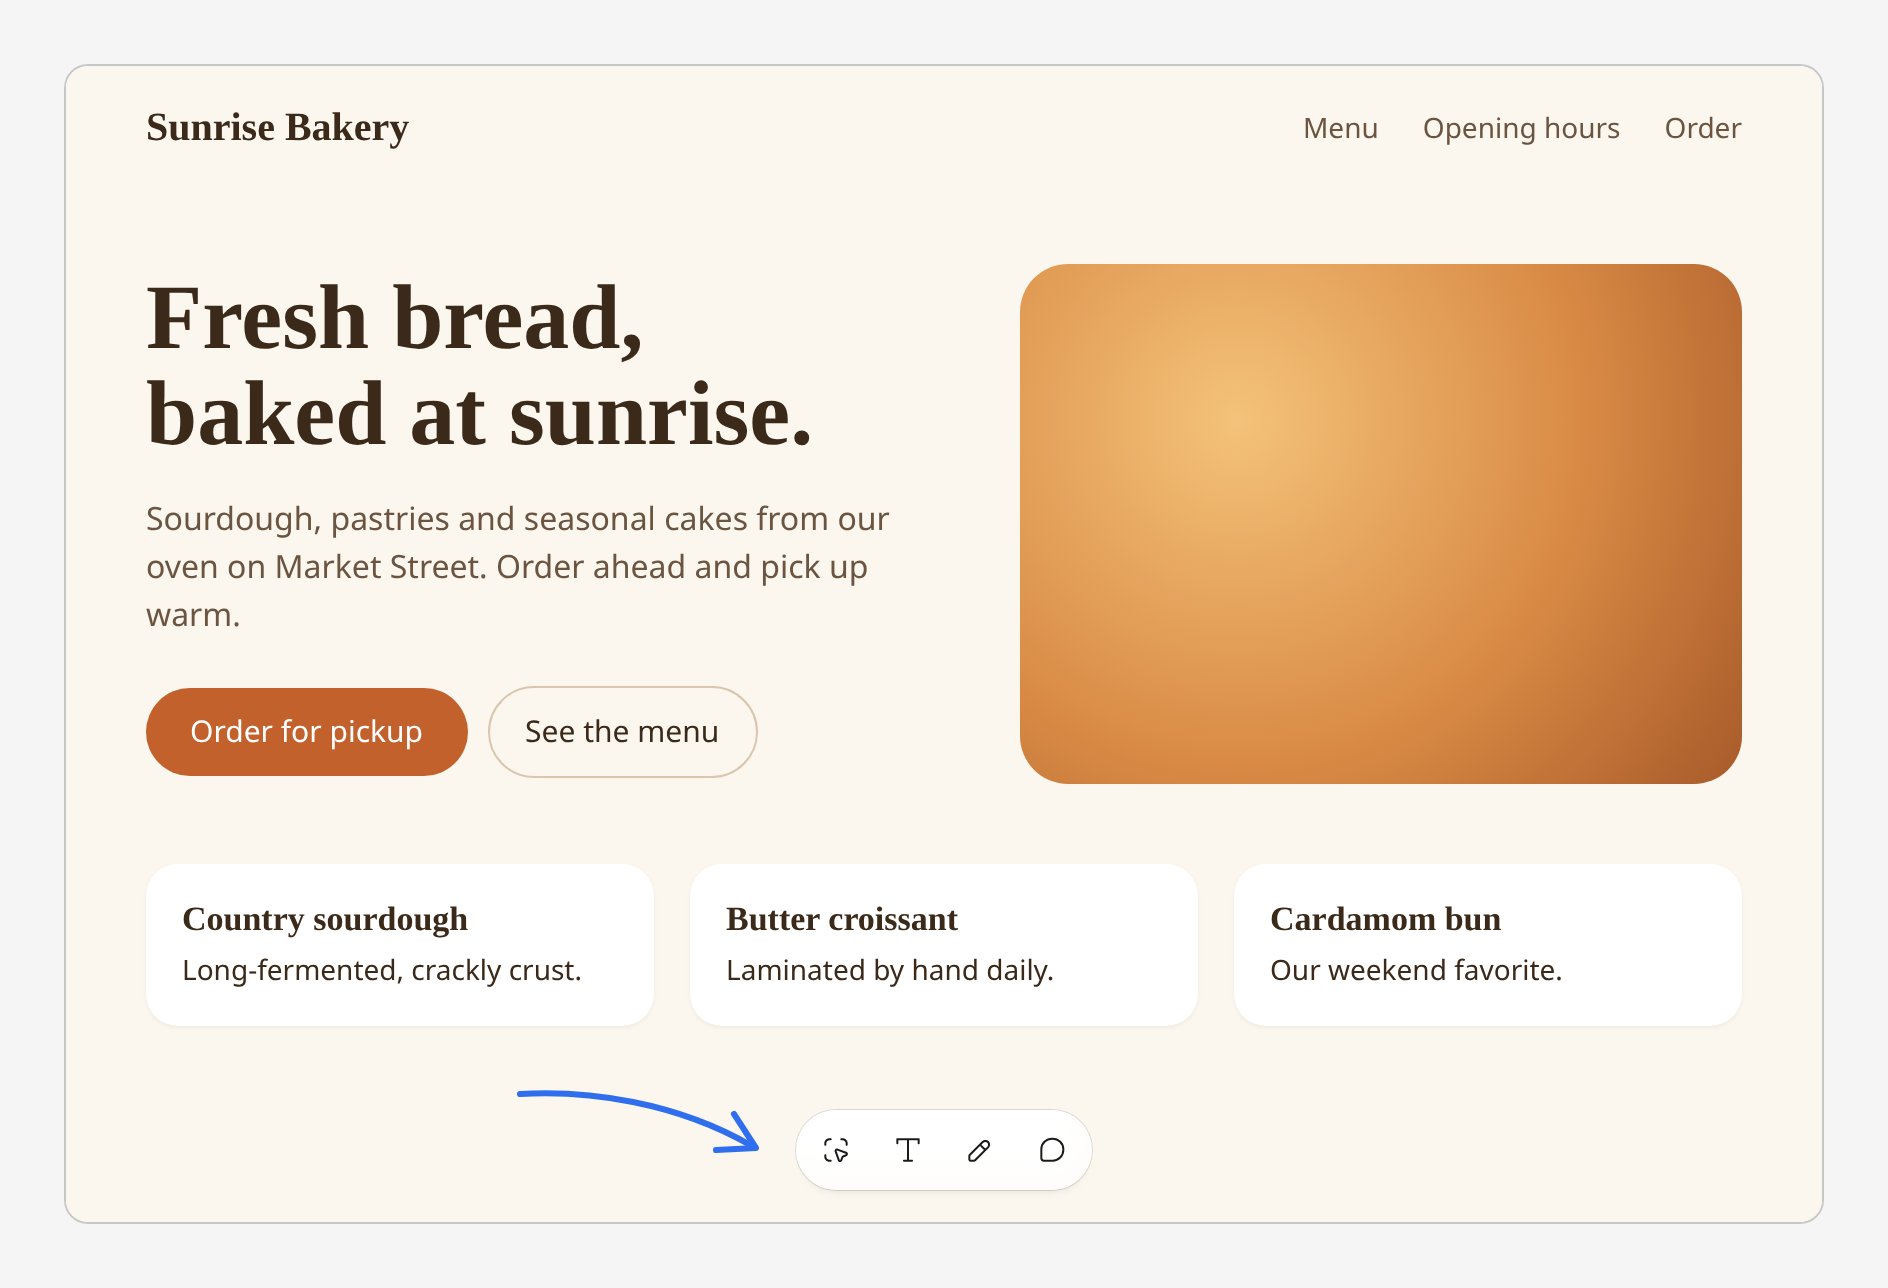
Preview toolbar modes
Each toolbar mode changes what a click in the preview does.
You can switch modes at any time. If a mode has unfinished work, such as a drawing or a text change you have not sent, the other modes are not available. Send the work, or click Clear in the toolbar to discard it, before you switch.
To leave a mode and use your app again, click the active mode’s button a second time. In comment mode, click the comment icon in the Comments bar instead.
Members who can comment on a project but not edit it, such as viewers, can use only Comments in the toolbar. See Project roles.
Select elements
Use Select elements when you want to point Lovable at a specific part of the page and describe what should change.- Click the Select elements button in the toolbar.
- Click the element you want to change. To select several elements, hold Cmd (Mac) or Ctrl (Windows) and click each one, or drag a box around them. Your selection attaches to your message, and your prompt applies to every selected element.
- Type what you want to change in plain language, in the project chat input. When the project chat is closed, type it in the toolbar instead.
- Send your message. If you typed it in the toolbar, click Send in the toolbar.
Edit text inline
Use Edit text inline to change words on the page without writing a prompt, such as to fix a typo, change a headline, or update a label.- Click the Edit text inline button in the toolbar.
- Click the text you want to change.
- Type your change in place. To change more text, repeat steps 2 and 3 before you send.
- Click Send in the toolbar. Lovable applies your changes.
- 2,000 for all members of a workspace
- 500 for everyone who uses Lovable from the same IP address, such as an office network
Draw annotation
Use Draw annotation to sketch on top of your app preview and send the sketch as an image alongside a message. A sketch helps when words are not precise enough. For example, draw to move a group of cards, remove a section, or show where a new element should go.- Click the Draw annotation button in the toolbar.
- Draw on the preview. The sketch attaches to your message as an annotation.
- Type a message that describes what you want Lovable to do, in the project chat input. When the project chat is closed, type it in the toolbar instead.
- Send your message. If you typed it in the toolbar, click Send in the toolbar.
Comments
Use Comments to leave notes pinned to specific parts of your app. Comments help you and your collaborators discuss the project in context, instead of describing locations in a separate channel.- Click the Comments button in the toolbar. Comment pins appear on the page, and the toolbar changes to a Comments bar with a Click to add switch, which is enabled by default.
- Click the element you want to comment on. A pin appears on it, and a comment thread opens next to it.
- Type your comment and send.
Working with the toolbar
The preview toolbar stays available while you work. You can move, minimize, or hide it when you want more space in the preview, enable keyboard shortcuts, and change its theme. You can also keep sending changes while Lovable works on earlier ones.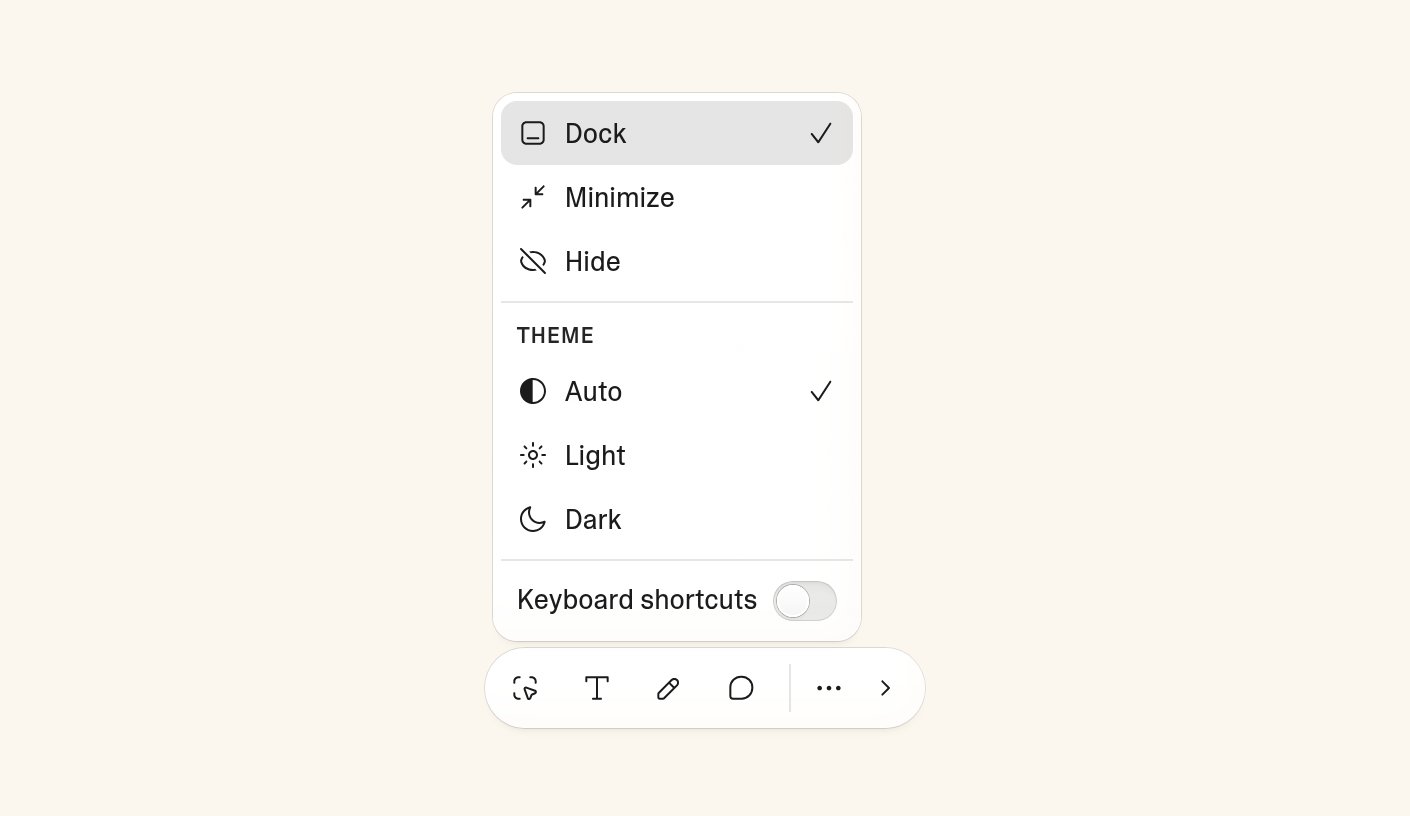
Position, minimize, and hide
The toolbar starts docked at the bottom center of the preview. To dock, minimize, or hide the toolbar, hover over it and click the Toolbar options button (⋯):- Dock: Moves the toolbar back to its docked position.
- Minimize: Shrinks the toolbar to a small tab on the edge of the preview. To expand it again, hover over or tap the tab.
- Hide: Removes the toolbar when you want a clean preview. To bring it back, click the Show preview toolbar icon in the top right controls above the preview, next to Share and Publish.

Keyboard shortcuts
Keyboard shortcuts are disabled by default. To use them, hover over the toolbar, click the Toolbar options button (⋯), and enable Keyboard shortcuts. The setting applies in this browser.S: Select elementsT: Edit text inlineD: Draw annotationC: Comments. In comment mode,Cenables or disables Click to add.Option+UpandOption+Down(Mac) orAlt+UpandAlt+Down(Windows): move between comment threads
Theme
The toolbar options menu lists three themes under Theme:- Auto: The default. The toolbar adapts to what’s behind it as you scroll, so it stays readable against any background.
- Light: The toolbar keeps a light appearance.
- Dark: The toolbar keeps a dark appearance.
Send changes while Lovable works
You do not have to wait for one change to finish before you start the next. Requests you describe in the project chat with Select elements or Draw annotation work like any other message. Lovable picks them up at its next natural stopping point and includes them in the current work. Inline text edits and comment threads you send to Lovable run as their own request after the current task. In the project chat, Lovable marks them Runs after the current task. See Send follow-ups while Lovable works.Tips for best results
- Point first, then describe. If you can click the thing you want to change, use Select elements so Lovable has the page context.
- Use Draw annotation for spatial changes. Moving things around, grouping content, deleting regions, or sketching new layouts is often faster as a drawing than as a written description.
- Keep prompts short when you’ve selected an element. Lovable already knows what you picked. “Make this the primary color” is enough.
- Combine drawing with words for ambiguous changes. A sketch shows the where, and your description explains the what.
- Fix small text changes directly. For typos, labels, and short copy changes, use Edit text inline.
- Use the project chat for image changes. Select the image, then attach a new image or describe the edit. See How do I replace or edit an image?
- Send several edits in a row. You can keep working while Lovable processes earlier requests.
FAQ
What happened to Visual edits?
What happened to Visual edits?
The preview toolbar replaces the previous Visual edits experience. Instead of using a separate editing panel, choose a toolbar mode, point at what you want to change, and describe the update in plain language.The toolbar has no controls for changing styles yourself, such as colors, fonts, or spacing. To change how an element looks, select it with Select elements and describe the change, for example:A request you send with Select elements is treated as standard build usage and consumes credits. See Select elements. To change wording, use Edit text inline.
Which toolbar actions use credits?
Which toolbar actions use credits?
Requests you send with Select elements or Draw annotation are treated as standard build usage and consume credits.Your account includes 100 free inline text edits, counted across all your workspaces and projects. Each free edit becomes available again 24 hours after you use it. One free edit covers all the text changes you send together, so several changes sent at once count as one.Two shared limits also apply to free inline text edits, each per 24 hours:
- 2,000 for all members of a workspace
- 500 for everyone who uses Lovable from the same IP address, such as an office network
Can I select multiple elements at once?
Can I select multiple elements at once?
Yes. Hold Cmd (Mac) or Ctrl (Windows) and click additional elements to add them to your selection, or drag a box around several elements. Your selection attaches to your message, and your prompt applies to every selected element.
How do I replace or edit an image?
How do I replace or edit an image?
To replace an image, use Select elements to select the image in the preview, then attach a new image or add an image URL in the project chat input. Describe what you want Lovable to do, then send your message.To edit an existing image, select the image or use Draw annotation to mark the area you want to change, then describe the edit in the project chat.
Why did my sketch get redrawn?
Why did my sketch get redrawn?
Draw annotation mode recognizes simple shapes, including lines, arrows, rectangles, circles, and ovals, and cleans them up so Lovable sees a clear annotation. If you draw something the recognizer does not match, it stays as freehand.